PHOTOGRAPHY SAVES LIVES!
These tips are aimed at animal rescuers and volunteers who are not necessarily photographers themselves.
Although they were written with dogs in mind, most of them can easily be adapted to other pets.
WHY ARE GOOD SHELTER PHOTOS IMPORTANT?
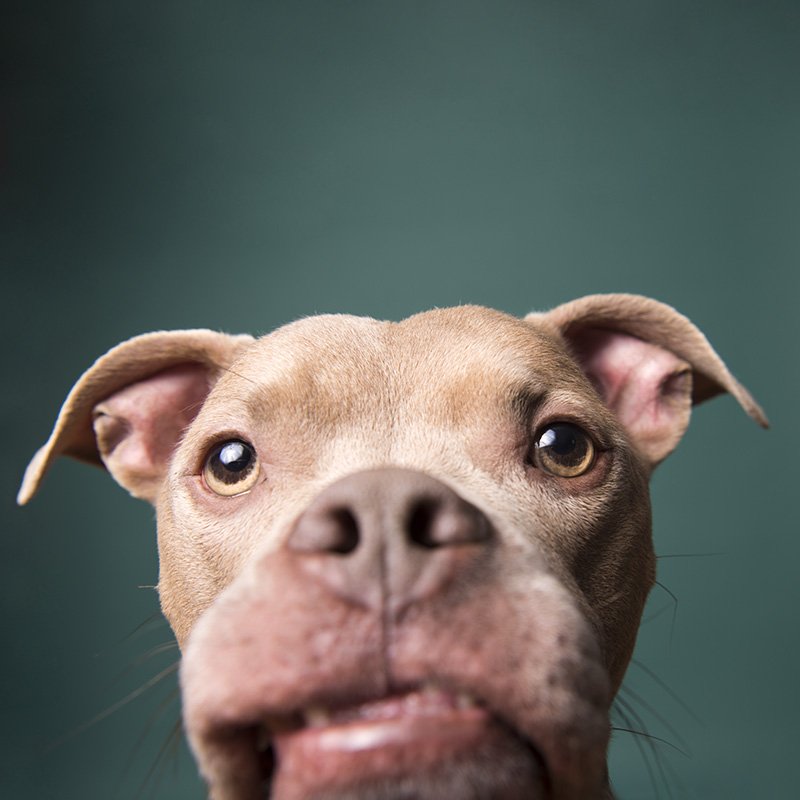
Good photos definitively get more attention on the dogs. Some dogs I photographed were adopted (sometimes after 7 or 8 years waiting at the shelter) because someone fell in love based on one photograph.
Good photos make a shelter stand out: think of it in terms of marketing. Shelters operate in a very competitive “market.” Between shelters and rescues large cities have thousands of dogs available for adoption at any given time.
Good photos promote a better, more professional image of the shelter/rescue itself, which leads to more adopters coming in, and more support from the community.
Good photos are more "shareable" on social media, which leads to more followers and interest for the rescue.
From the photographer's perspective, photographing shelter pets is one of the most rewarding experience you can have. It keeps you on your toes creatively, it tests your skills and adaptability.
TAKING SHELTER PICS
TAKE CHARGE + SIT/STAY IS YOUR FRIEND
When working with a shelter dog, remember to be gentle but give clear direction. They need to understand what you expect of them. Shelter dogs in particular spend most of their time locked up, then they get pulled out for a photo-shoot. They are going to be tense, worried, puzzled, or very excited to see you. The clearer your directions are, the less confused they’ll be and the more they can relax during the shoot.
Most shelter/rescue dogs are going through basic training, and a photoshoot is a great opportunity to learn or practice sit / stay. If you aren’t sure how to make a dog sit and stay, consider learning this skill before your shoot so you are prepared. It’s all in the hand movement, body language and timing.


GETTING STARTED: BRING A CALM ENERGY TO YOUR SET
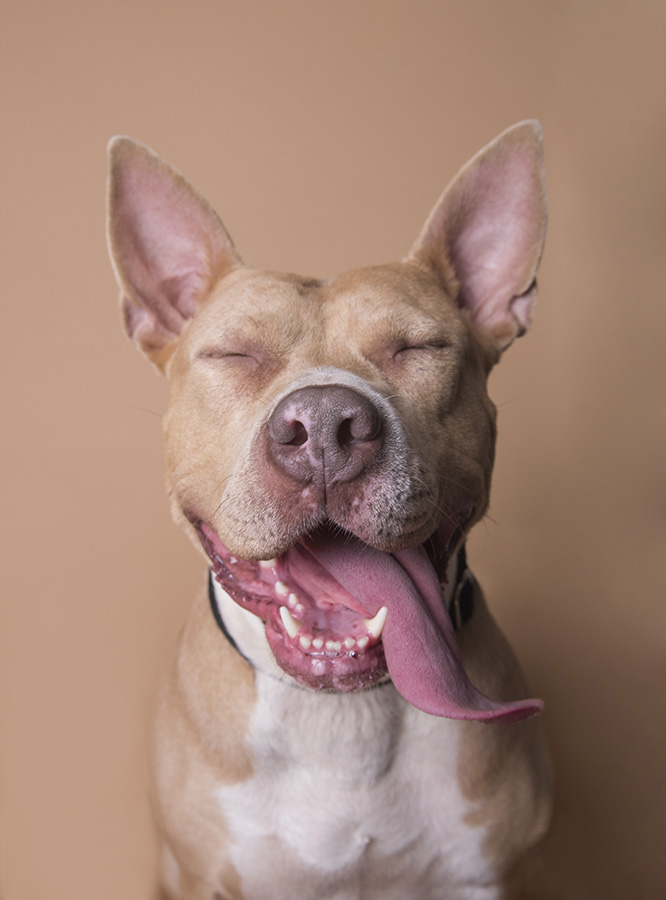
I love this portrait of Sasha Roo! Despite the eyes closed and the huge tongue out, she gives me such good zen/fun vibes! I want to be in that dog’s life!
If you are aiming for portraits (as opposed to action shots), make sure to keep a calm energy on your set. Welcome the dog with a warm, calm voice (baby voice is okay!) and try and match their energy. It’s much easier to set the tone from the start, than to have to bring a dog down from a place of high energy/excitement.
In my experience, nothing ruins a shoot as much as an enthusiastic volunteer who riles the dog up right before they sit for their portrait (“Who’s excited for their pictures? Who’s excited?!! Are you excited?!!!”). No, no, no. We want everyone to be calm and quiet. At least, that’s how I like to work. Consider letting the staff know ahead how you would like to approach your shoot.
And perhaps excited dogs are more your jam! Especially if you work outdoor, with toys, off-leash, and are looking for more lively photos and videos of the dogs. Then it’s totally ok to be playful and excited with them!
I like to start with only my voice. Remember, these doggies spend their life locked in a very overwhelming environment. Perhaps think of your shoot as a quiet retreat for them, where they get to experience a different kind of interaction with humans.
If you plan on using squeakers or toys, ask the staff / handler first if that dog has any reactivity towards toys. And if you brought your own treats, ask about allergy / special diet.
I start with whispers, little noises I make myself, speaking to the dog. No shouting, no waving things or treats under their noses. If that’s not enough, then I slowly amp up (and sometimes I do end up waving and making loud noises. Every dog is different). I use a little plastic squeaker (from inside a soft toy), which I hide in my hand. I find that it helps get the dog’s attention without having to wave a toy in their face. The dogs are curious and intrigued by the sound, not really knowing where it’s coming from. It helps keep them focused. If they don’t care about sounds, or if they need calming down and sitting in one place, then I use treats.
Don’t overdo it. I see too many people trying too hard, or suddenly everyone in the room is yelling and waving treats, shoving them in the dog’s face. It’s a big no for me. If the dog isn’t reacting to the squeaky immediately, or is turning away from the treat you are handing them, then stop and regroup, try something else, pull back. Don’t insist. Give the dog some space to breathe and figure it out. Read their body language and adjust your strategy. It’s important to listen to them. Would you want to have food shoved in your face repeatedly if you were nervous before a meeting, and had already told the person you didn’t want to eat anything? Sometimes, starting from a completely quiet room, sitting the dog, waiting a few second and making a little sigh, is all you need to get the shot.
GET THE HELP OF A HANDLER
I couldn’t do the work I do without handlers! A good handler makes your job easier. It’s best if they know the dogs. That person can take the dog out of their kennel and bring them to you, inform you of anything you should know about the dog (food guarding, etc), manage and hold the dog for you, etc.
A handler ensures the dog and the photographer are safe. In shelters dogs must usually remain on leash at all time when interacting with a person, to avoid accidents or scratches. If a dog breaks skin by accident during a shoot, jumping and scratching your arm for example, they could be taken off the adoption floor for 2 weeks (rabies hold), and in overcrowded shelters that is a very dangerous timeline.
The main job of your handle is to handle the dog during the shoot, holding the leash, helping keep the dog in one spot. But there are other ways in which handlers are awesome:


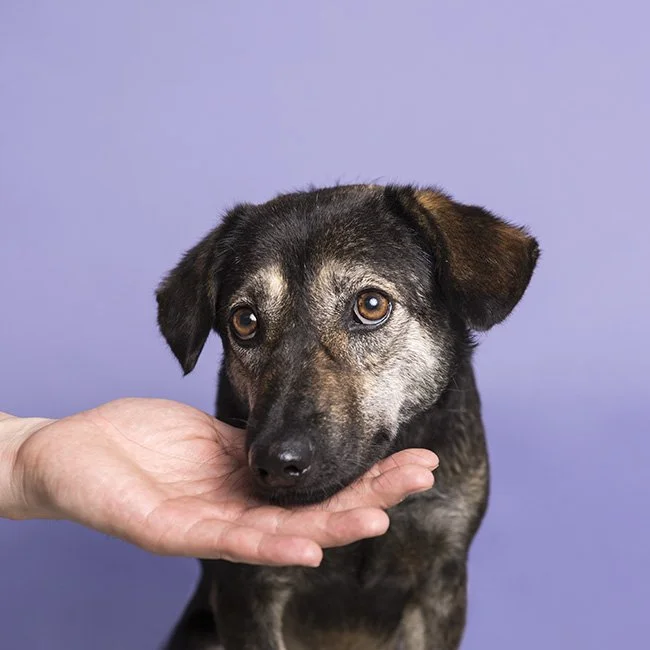
A handler will help you focus on taking the photos (always be ready to snap a photo! Sometimes a magical moment happens quickly). If your helper is holding the dog, that person should not become the focus of the dog’s attention: you should be the one making noises or waving a treat for the dog. Not the helper.

I am the one holding the yummy treats so the dog looks at me, not their handler.
This can be a little tricky. Often the dog is used to that person, or they have a treat pouch. It’s really important that the dog sees you holding treats and that you are the one rewarding them. It will make for a much easier process!
If the dog is on a leash, ask the handler to remove tension from the leash as much as possible, so that the dog doesn’t look strangled, but to make sure the leash doesn’t droop against the dog. Ideally, the leash is held above the dog or to the side, or dropping behind the dog. It will make for easier retouching if you use Photoshop to remove the leash afterwards.
I do not recommend having more than one or two people with you in the room, as it makes for too much stimulation and distraction for the dog. Be nice to the people wanting to help, but be in control of your own set. You are in charge, and it’s ok to ask people to leave the room, if they are getting in the way of the job. I’ve certainly done it a few times!
PAY ATTENTION TO THE BACKGROUND

Do not underestimate the importance of the background. Pay attention to what’s happening, if there is a trash can or clutter. It’s much easier to fix that before taking the photos, than to try and fix it in Photoshop afterwards, for example.
Try to isolate the dog in front of a simple background, so the dog can be the focus. It can be as simple as a colorful wall, a bush of flowers. If you shoot indoors with light and studio equipment, consider using a backdrop, such as a vinyl backdrop (those can be washed and sanitized), seamless paper backdrops (available at photo stores), or any kind you can think of (even wrinkle-free fabric). Once, in a pinch, I used butcher paper!
If you know how to use Photoshop or another retouching software, clean up the background before sending the pics to the shelter, remove little stains and dirt the dog might have brought onto the set. It can be time-consuming, but it is worth it. A dirty-looking photo will not appeal to adopters as much as a squeaky-clean image. If you aren’t comfortable with Photoshop or aren’t able to clean the set well enough, consider focusing on headshots to avoid the hassle altogether. Or maybe some new AI tool can help you.
DROP DOWN TO THE DOG’S EYE LEVEL
To achieve my style of portraiture, you’ll have to drop down and photograph from the dog’s eye level. That means you will be on your knees or belly a lot, which can be taxing on your body.
I used to get a lot of back pain after a shelter shoot, and I find that sitting on a blanket/pillow during the shoot, and wearing knee-pads is a game changer.
If the dog is small, consider placing them on top of something, a chair or table. Have a handler nearby to make sure the dog is safe, and do not tempt this set up if the dog is skittish.
If you don’t have a handler, and you are working outdoors with a dog in a run for example, dropping down can be challenging. Taking a photo from above is cool too. There is nothing wrong with that.
Ultimately, you just need the dog to appear safe, friendly, loving.

Ashland was placed on a table which matched my background perfectly! The handler was standing right next to the dog, to make sure Ashland was comfortable and safe.
EMBRACE WHAT YOU HAVE
Embrace your gear, skill level and the circumstances you are in. It is always possible to capture fantastic portraits, regardless of what you have available. Your dedication, patience, and creativity is all you need.
Some tools might make your life easier (a DSLR camera, learning how to use a flash, or Photoshop), and if you can and want, learn those skills and invest. But even if you don’t have the time or energy to learn those skills, or the money to invest in fancy gear, there is still plenty you can do with what you have.
Smartphone cameras have become really good, and (while I am not a huge fan of AI), it’s becoming very easy to use AI tools to remove backgrounds, or alter a photo. If you are going to use AI though, I encourage you to make sure it doesn’t change the dog themselves. You still want your image to be truthful.
If you are using an iPhone, you might be interested in this video I created with Apple, sharing some tips on how to make the best of the features available on your phone.
FLAUNTING THAT BLACK FUR
Black pets are notoriously difficult to photograph. That is because black fur requires more light, and it can be difficult to capture the features of a black pet. Using flash is a good way to get around the problem, though it can be technical. There are other ways to harness light, such as using reflectors or bouncing light. You could explore those skills.
If you aren’t comfortable working with flash or manipulating light, then I would recommend finding a very well-lit area. And if that’s tricky, you can also retouch your photos using Camera Raw / Lightroom / Photoshop, or even just apps on your phone.

A while back I created a retouching tutorial for Lightroom, on how to make black pets shine, using their retouching app for mobile.
SNAP AWAY… EDIT LATER
Once the dog is in position, go for it and don’t hesitate to capture more photos than you need. If a model is extra expressive or inspiring, keep shooting! It’s fun, and you might discover new ideas and angles you haven’t thought of before.
Then, later, pick the photos that speak to you the most. Sometimes, expressive and unexpected is better than perfect!
Sometimes, the dog’s eyes are closed, or the dog is looking away. Sometimes the photo is technically terrible, but the vibe is right. If I get an emotional reaction from the image, then I select it. Chances are, someone else (a potential adopter) will feel strongly about the image too.
I select 3-5 images per dog, giving the shelter options: a mix of serious / mouth closed portraits, and “smiling” one, goofy ones, photos that show the dog giving paw or doing something funny or unexpected. Maybe a full body shot if I got one.

This portrait of Tugboat broke the internet! She was a blind senior pug who kept facing the wrong way during our shoot. I ended up using this image as her profile, and she found her forever home immediately.


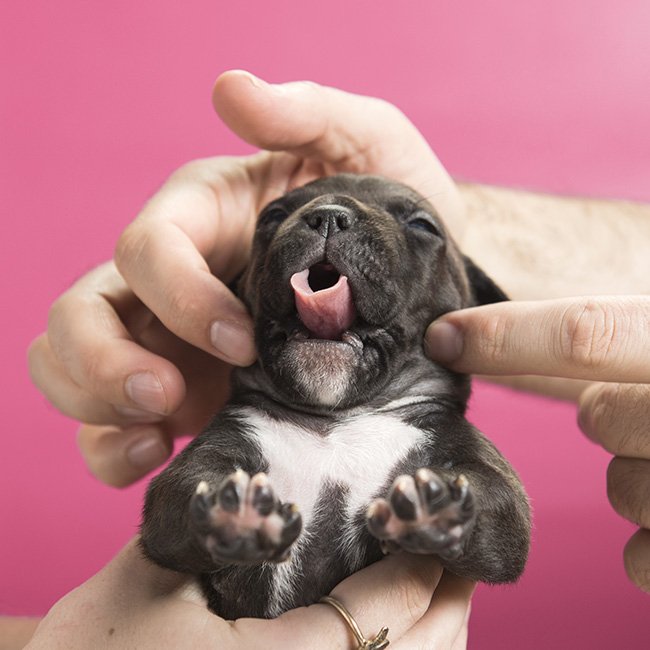
I always retouch my photos before sending them over to the rescue/shelter. I try to do it in a day or two maximum, so the organization does not have to wait. This is where you can fix little hiccups, remove leashes, brighten eyes, clean up the background, crop and resize. I prepare the files to match the size the organization uses, especially if it’s a city shelter with limited resources. Anything to make their job easier and as seamless as possible. Often these shelters use software that have really strange image ratios. I rename the files with the name of the pet or their ID number.
SHARE THE PICS ON SOCIAL MEDIA
Once your photos are ready and you have sent them over to the rescue/shelter, it’s time to share them on your own social media channels too! You never know who is watching and who is ready for a new companion.
Try to put together a little bio, maybe talk about how the photoshoot went, any thing personal you want to share about the animal. List clearly all the info: city/state, shelter info, address, opening hours, who to contact if interested in adopting, anything to make the process easier for potential adopters.

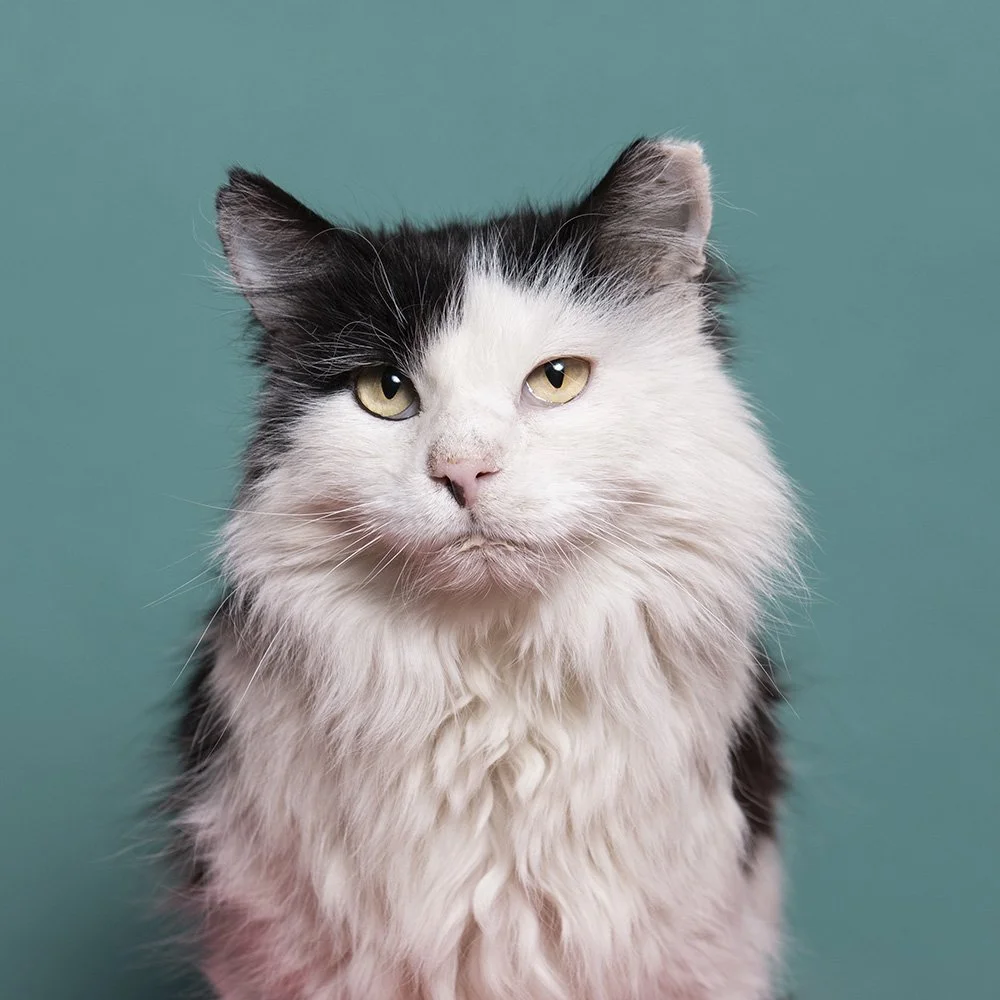
OTHER TYPES OF SHELTER PETS I HAVE PHOTOGRAPHED USING THE SAME TECHNIQUES